
Pre-shoot checklist: 8 things that make or break listing photos
A photo shoot lives or dies before the camera turns on. Here's what separates sold listings from the ones that linger.
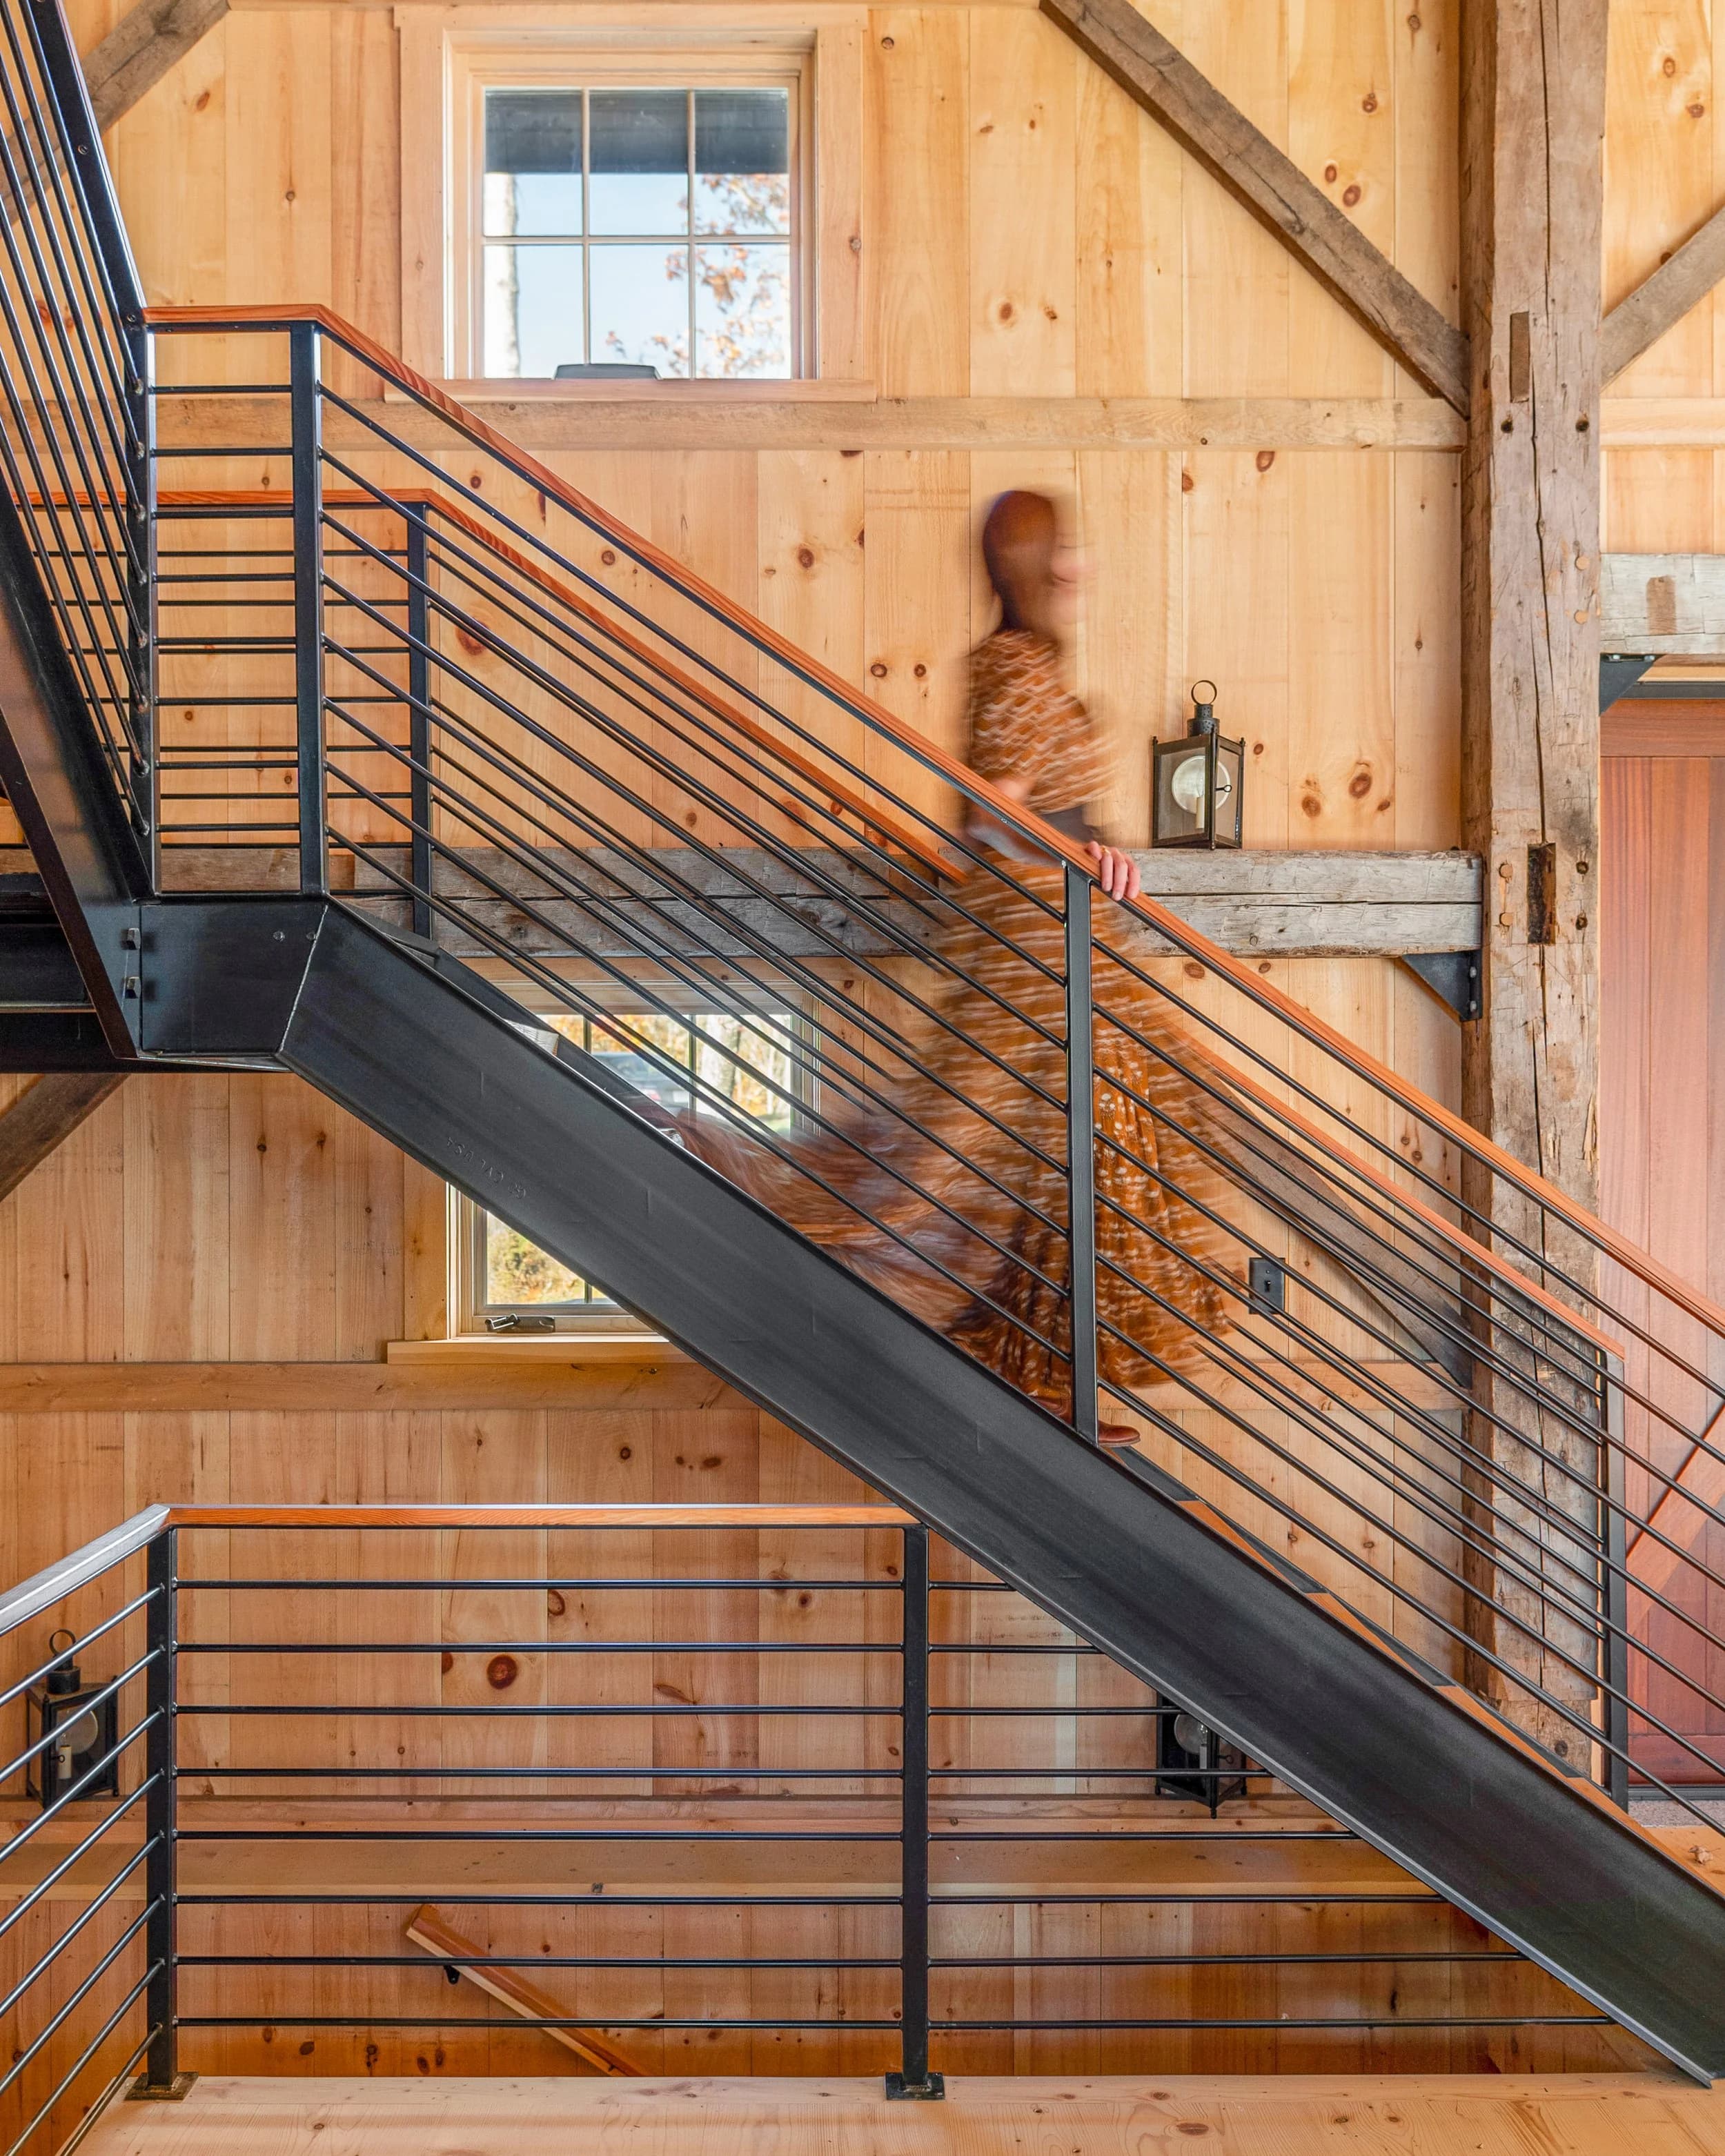
A photo shoot lives or dies before the camera turns on. The best lighting, the steadiest drone, the widest lens mean nothing if the property isn't ready. Over 6,953 projects, we've learned what actually matters. Here are the eight non-negotiables.
1. Declutter every room
Clutter kills composition. A prospective buyer scrolls past a photo in 1.2 seconds. If their eye lands on a nightstand piled with papers instead of the room's bones, you've lost them.
Remove personal items, excess furniture, and anything that draws the eye away from the space itself. That wall of family photos? Store it. The basket of remote controls? Gone. Kitchen counters should be nearly bare except one or two styled pieces. Bedside tables, one lamp. Desks, a laptop and a pen.
This isn't staging. It's editing before the camera arrives.
2. Deep clean every surface
The camera sees dust. Fingerprints on stainless steel. Water spots on faucets. Streaks on windows. What looks "fine" to the eye reads as neglected on a 4K image.
Schedule a professional cleaner 48 hours before the shoot, not the day before. You want time to walk through after and catch what they missed. Baseboards, ceiling fans, light fixtures, and door handles get overlooked constantly. Check them yourself.
Dull windows kill photos. Clean glass is non-negotiable.
3. Check every light in the house
Flip every switch. Test every lamp, overhead fixture, and outdoor light. Replace burnt-out bulbs before the photographer arrives. Mismatched bulb temperatures (warm vs. cool) create odd color casts.
Outdoor lighting matters too. Pathway lights, porch lights, garage lights. If it's dusk or evening when the shoot includes exterior shots, you need those on.
Broken or missing fixtures should be replaced, not photographed as-is.
4. Stage the front door and entry
The front door is the first impression. Fresh paint on the door, clean hardware, a potted plant or two, and a clean walkway set tone immediately.
Inside, the entry should feel like a deliberate start to the home, not a pass-through. A console table, a mirror, a small rug. Nothing elaborate. The goal is to show the home is cared for.
Ensure the front porch is clear of shoe racks, storage, and clutter.
5. Open all drapes and blinds
Light is the photographer's best tool. Closed blinds are darkness. Open them all. Natural light reads as clean, spacious, and inviting on camera.
If privacy is a concern during the shoot, open them for the photos. You're marketing, not hiding.
For rooms with poor natural light, position lamps or overhead fixtures to supplement.
6. Prepare outdoor spaces
Trim shrubs and trees within 2 weeks of the shoot. Overgrown landscaping photographs poorly and reads as deferred maintenance.
Mow the lawn. Edge the walkway. Power-wash the driveway and patio if they're grimy. Tidy the yard of toys, tools, and stored items.
If it's winter, clear snow and ice from driveways, walkways, and steps. A snowy roof or driveway can work in certain markets. Know which one you're in.
7. Arrange furniture in open floor plans
In large open spaces (kitchen to living room), furniture placement shapes how people see the layout. Don't leave a room feeling empty or awkwardly furnished. Position seating to define zones without blocking sight lines.
Remove excess furniture. One sofa, one chair, and a side table often read better than a fully dressed living room that feels cramped on camera.
8. Brief the photographer on priorities
Different homes have different selling points. A farmhouse lives and dies on its kitchen and land views. A condo on walkability to downtown. A waterfront property on water access.
Provide a brief to the photographer before arrival: which rooms matter most, which angles show off the best views, where natural light is strongest, and any problem areas to minimize.
If you're working with a professional team like Flylisted, we've already asked these questions during the booking process. Your job is to answer them honestly and prepare the property accordingly.
What happens when you skip steps
Missing one or two of these isn't fatal. Skip all eight, and you're paying for a photo shoot of a property that doesn't show well. That's not a photography problem. That's a preparation problem.
We deliver in 24 hours because the photography is fast. The real work happens before we arrive.