
Budget for design changes: why 3D renderings save money pre-construction
Catch design flaws and client requests in renderings, not during construction. See why developers budget for rendering revisions before breaking ground.
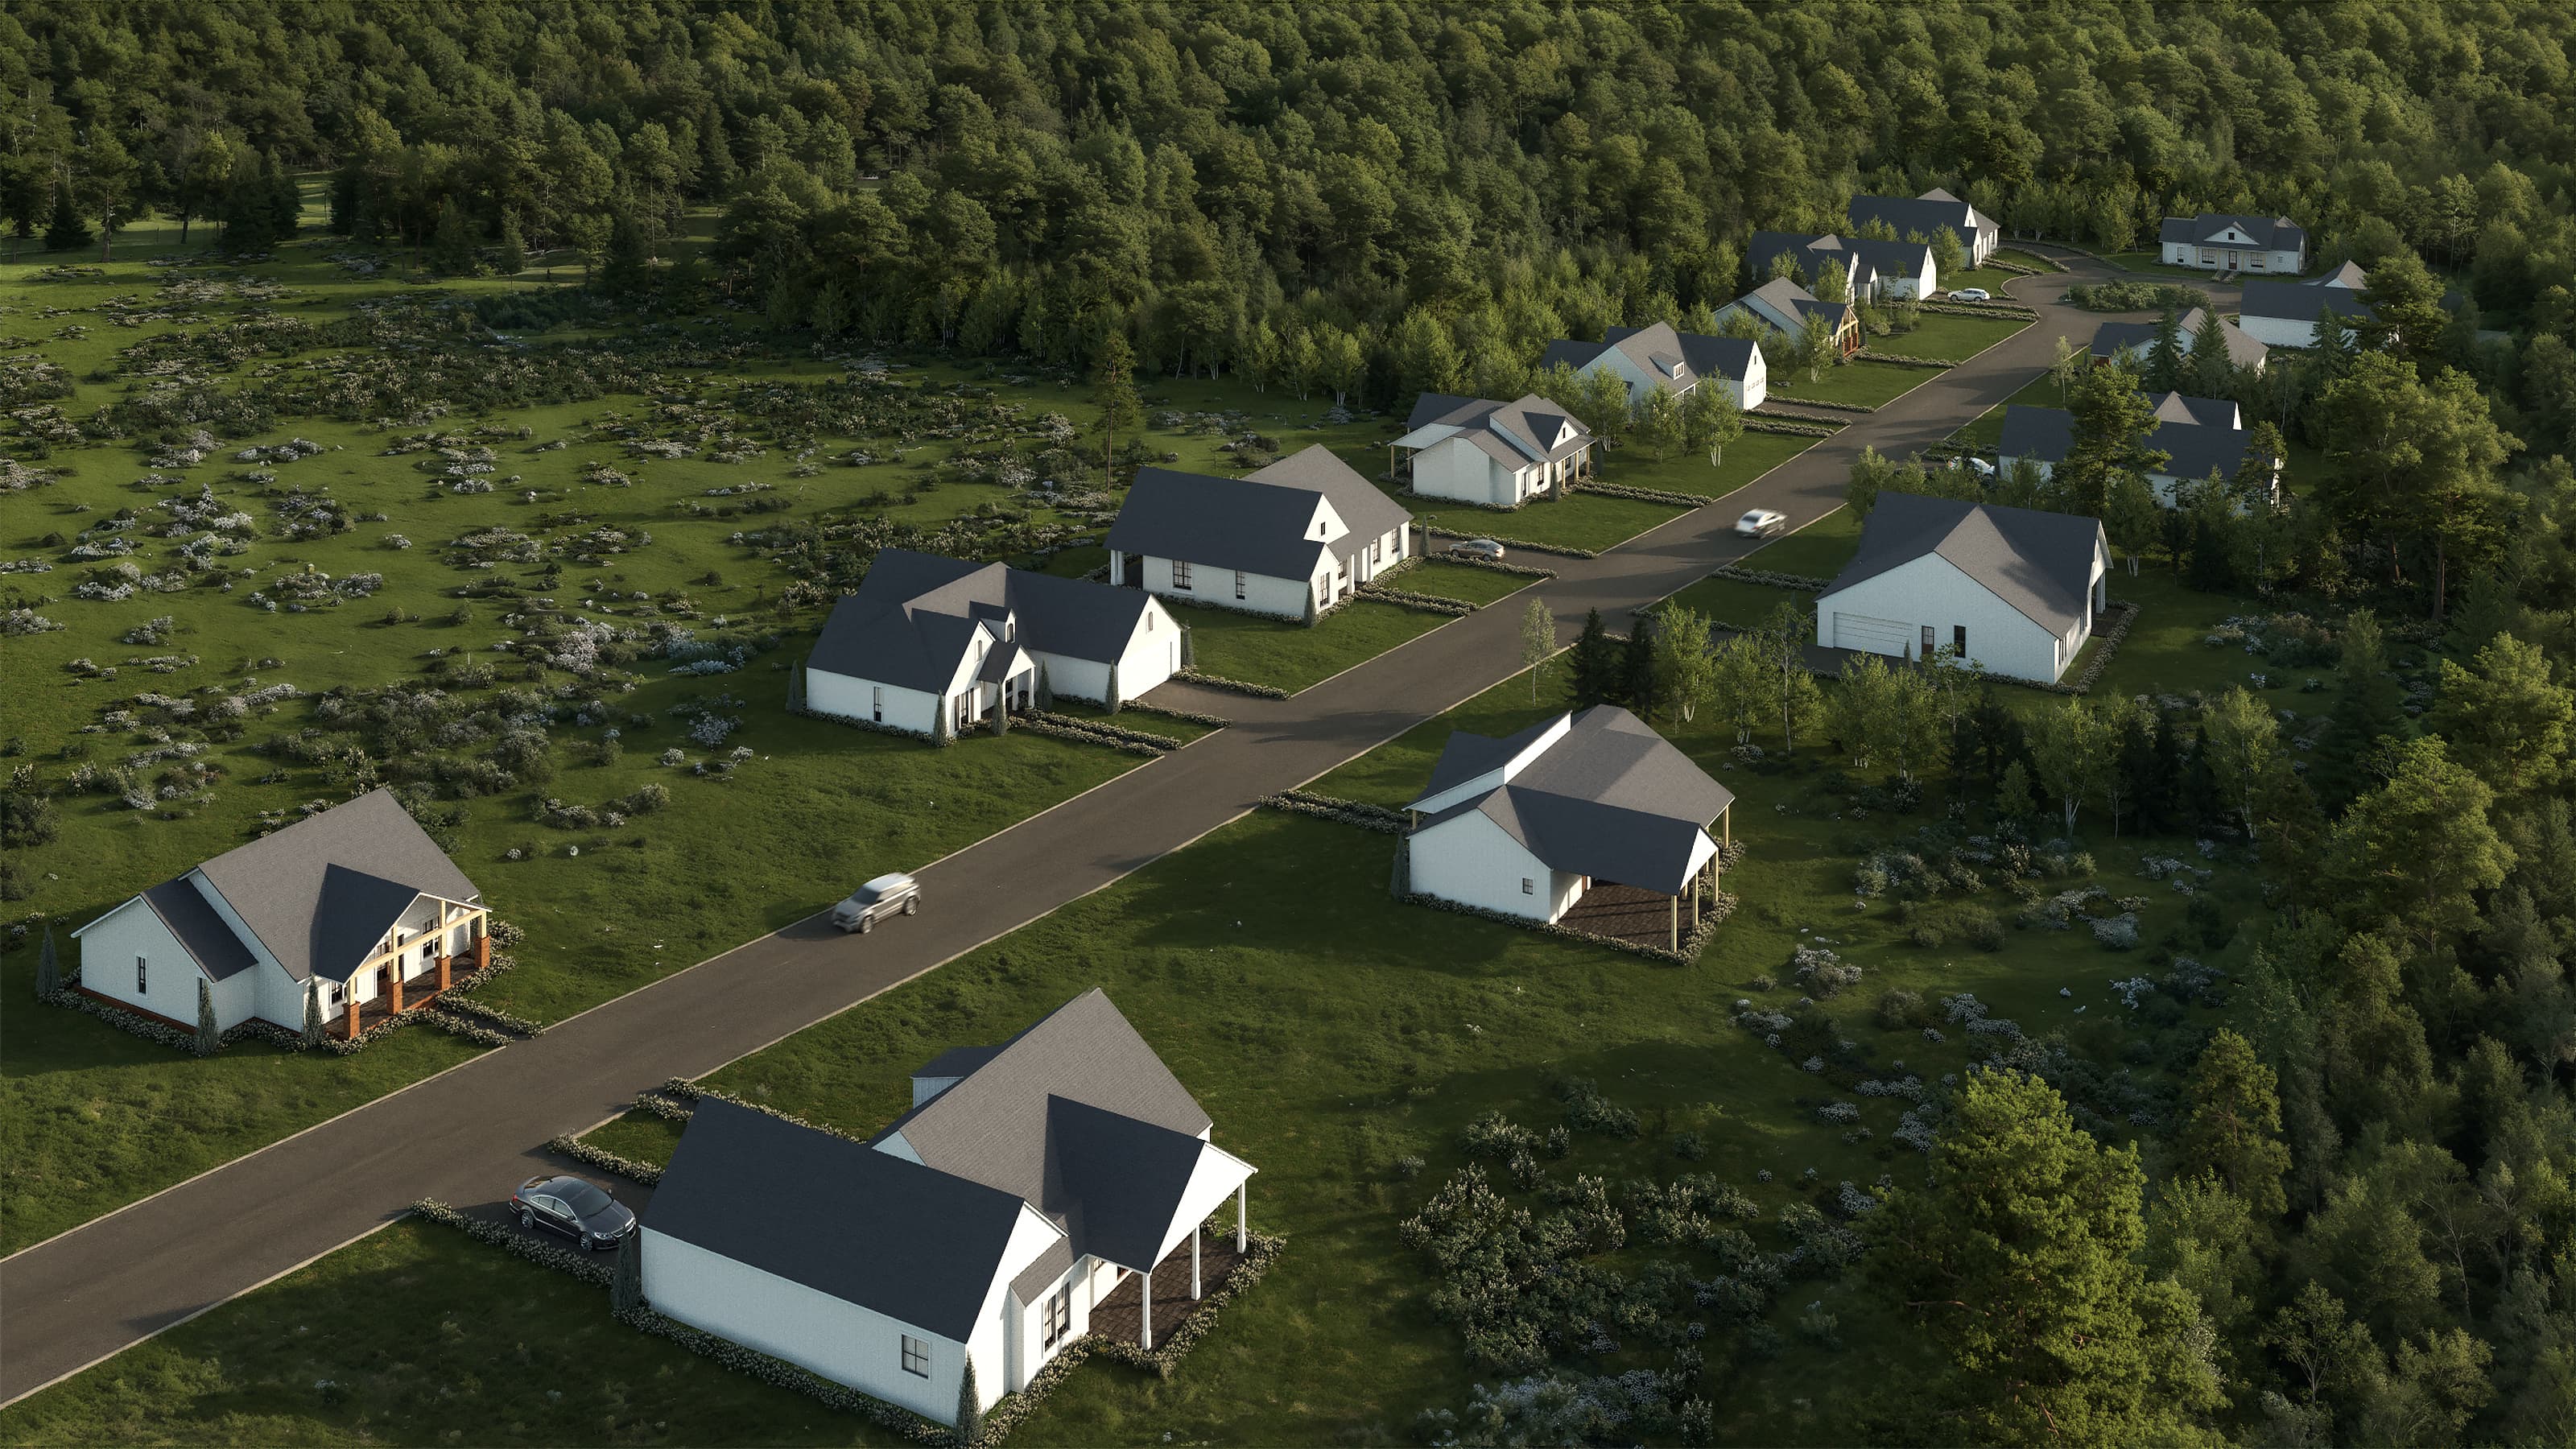
A developer approves floor plans. Three weeks into framing, the general contractor flags a structural detail that doesn't match the marketing renders. The marketing team scrambles. The client asks why the kitchen looks different from what they saw. A budget item gets missed, and suddenly you're paying for fixes that should have been caught in design review.
This happens because renderings arrive at the tail end of planning, treated like cosmetic afterthought instead of design validation. The cost of a rendering revision is pennies. The cost of a construction mistake is brutal.
Why renderings catch expensive problems early
A photoreal 3D rendering isn't decoration. It's a dress rehearsal. When architects, contractors, and marketers can walk through a space in three dimensions, discrepancies become obvious. A ceiling height that looks wrong. A staircase that blocks sightlines. A window placement that doesn't align with structural columns. A finish detail that conflicts with MEP runs.
On a 2D floor plan or elevation, these issues hide. In a rendering, they scream. Fix them before the first nail goes in. After construction starts, every change order ripples through the schedule and budget.
Build rendering revision into project budget
Smart developers allocate a separate line item for rendering updates. Not as a contingency (though it acts like one). As a working expense. Include at least one full round of revisions in your initial scope.
Here's the math:
- Initial rendering suite: captures base design intent.
- Design review phase (week 3-4): architect, GC, and sales review the render. Notes come back. Ceiling height tweaks, material swaps, layout refinements.
- First revision round: typically 2-3 key scenes, re-rendered to reflect feedback.
- Final sign-off render: used for marketing, pre-sales, and permits.
Budget for at least two rounds of corrections on major projects. One round is almost never enough. Clients spot things. Engineers spot things. Your eye catches things three weeks in that you didn't see week one.
Who needs to see the render before it goes live
Before you lock the render for marketing or pre-sales, run it through this checklist:
- Architect or design lead (does it match intent?)
- General contractor (is it buildable?)
- Structural engineer (does MEP routing work?)
- Sales or marketing lead (does it sell?)
- Owner or developer (does it match the vision?)
Each person will find something. That's the point. A rendering review meeting costs two hours of time and coffee. A mid-construction change order costs money and schedule delay.
Renderings for different project phases
Not all renderings need the same level of detail or revision cycles.
Concept renders (early schematic design) move fast and cheap. One or two rounds. High-level, no distracting details.
Design renderings (60-80% drawings complete) need rigor. Renderings at this stage catch real conflicts. Budget for 2-3 revision rounds and a full stakeholder review.
Pre-construction and marketing renderings (90%+ documents finalized) should be locked tight. Revisions at this stage should be minimal if the previous phase was done right. Budget one final review round only.
The earlier you render, the cheaper mistakes are to fix. The later you render, the more expensive corrections become. Most developers under-estimate how much design work lives in that middle phase where renderings bridge architects and contractors.
Material and finish changes: plan for them
Clients see renderings and want to swap finishes. That window color isn't right. The flooring looks too warm. The exterior cladding reads different than expected. These changes are easy in rendering. They're expensive on-site.
Build a change-order approval process that leans on renderings. Before the client signs off on a material upgrade, render the new finish. It takes 4-6 hours, not three weeks. Cost is minimal. Regret is eliminated.
If your rendering partner can turn around material swaps in 24-48 hours (residential work typically runs 24-hour turnaround), you can make approvals confident and fast.
The hidden advantage: faster permitting and approvals
Municipalities and planning boards review plans. Renderings help them see what you see. A clear render of streetscape, massing, and finishes speeds approval conversations. It's not legally required, but it's politically smart. Include 1-2 public-facing renders in permitting packages. They're an investment in moving timelines faster.
Start rendering early, budget for changes
The worst time to discover a design problem is on a job site with a crew standing around. The second-worst time is after marketing materials have gone to print.
The right time is in design review, when you have a 3D rendering in front of you and a pencil in your hand.
Build rendering revisions into your project budget from day one. Treat it as a design phase cost, not a marketing afterthought. One revision round on a multi-family or commercial project will pay for itself the first time it catches a conflict that would have cost five figures to fix during framing.
Ready to lock in renderings for your next project? Check current pricing and turnaround for photoreal 3D renderings.