
Floor plan photography for staging: empty room prep
A clean floor plan photo sells faster than a cluttered one. Here's how to prepare a vacant room for professional photography.
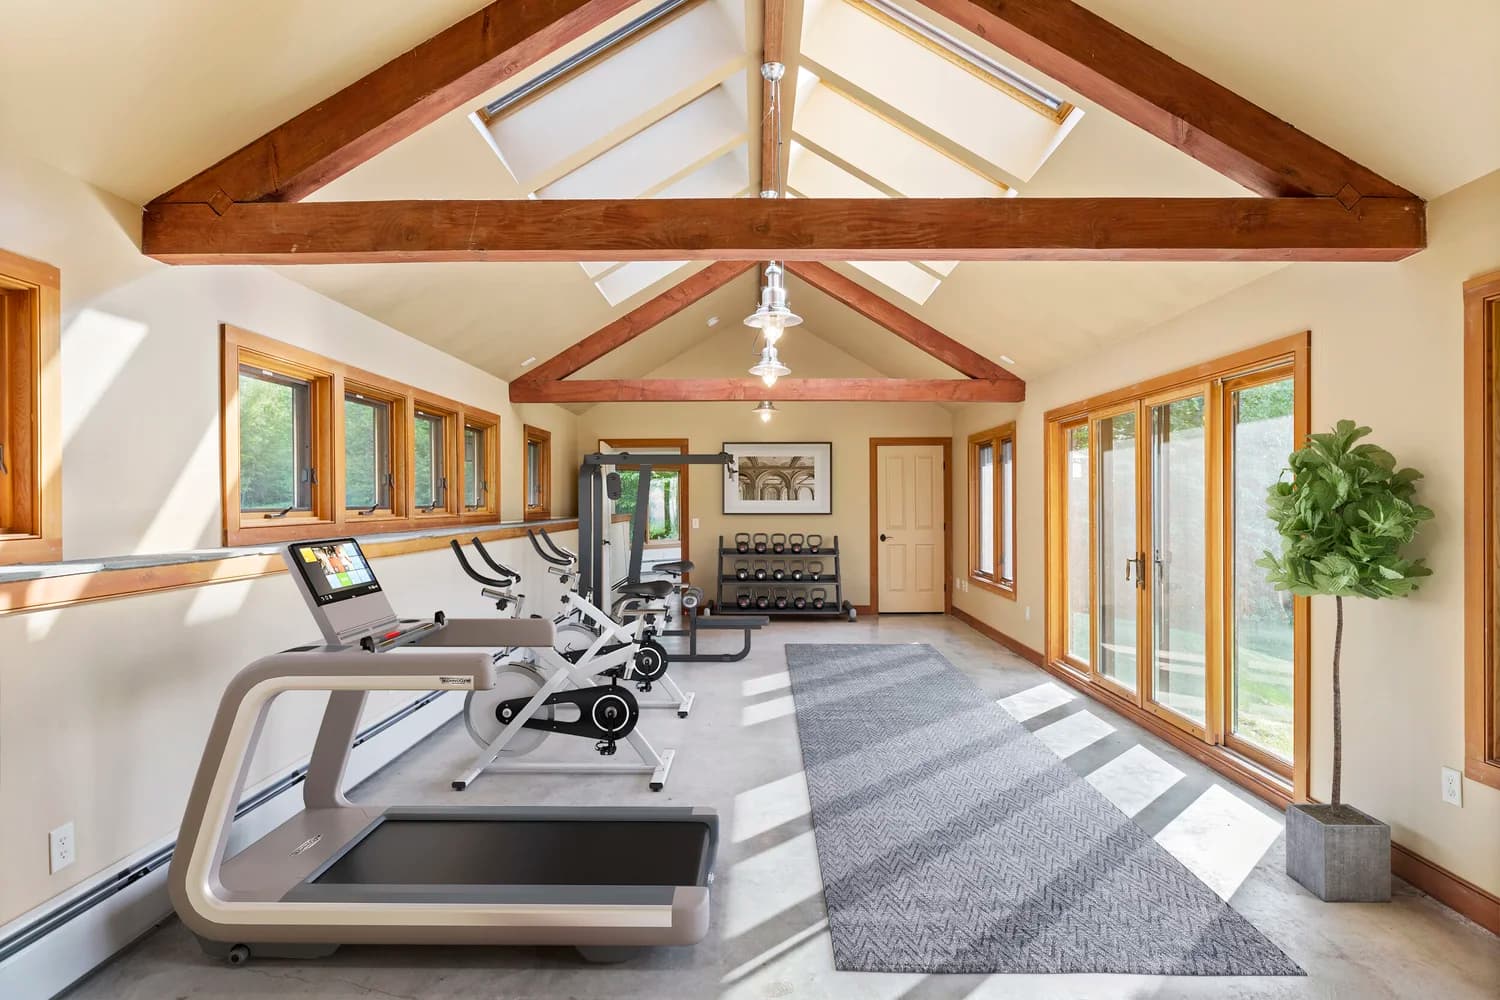
A floor plan shot is often the first image a buyer sees online. It frames the layout before furniture, décor, or emotion enters the picture. Get it wrong, and a well-proportioned room reads as cramped. Get it right, and the whole listing gains credibility.
Floor plan photography in an empty room is simpler than photographing furnished spaces, but it demands more attention to detail. There is nowhere to hide.
Clean the floors first
Dust shows up in overhead shots. Vacuum, mop, or sweep every surface. Pay special attention to corners and baseboards, where dust accumulates fastest. If the floors are dull or scuffed, consider a final buff. Professional floor plan photos often reveal wear that casual viewing misses.
Check the floor for marks, pet stains, or adhesive residue from furniture pads. These read as defects in overhead angles. Use appropriate floor cleaner or, if needed, a small amount of mineral oil to restore subtle shine without leaving streaks.
Walls and trim need attention
Empty rooms expose wall flaws. Look for water marks, nail holes, crayon marks, or scuff patterns from furniture. These are fixable before shoot day. Touch up paint where visible; repaint an entire wall if damage spans large areas. Neutral paint hides imperfection better than bold colors.
Wipe down trim, baseboards, and door frames. Dust settles here and reads as grime in high-res overhead photography. Use a damp microfiber cloth to avoid leaving lint.
Windows and natural light matter
Open all curtains and blinds. Remove them if they're dated or stained. Natural light filling an empty room reads as spacious and clean. Overhead fixtures alone create flat, cold floor plans.
If windows are frosted or grimy, clean them inside and out the day before the shoot. Afternoon light often photographs better than morning, depending on room orientation. Discuss timing with your photographer.
Doors and hardware
Open all interior doors so closets, en-suite bathrooms, and secondary spaces are visible in the frame. Closed doors compress perceived room size and hide usable square footage.
Clean door handles, hinges, and hardware. Tarnished or dusty fixtures stand out in overhead shots. Polish brass or wipe stainless steel.
Ceiling and lighting
Look up. Cobwebs, dust, and discolored spots on ceilings read badly in overhead floor plans. Dust ceiling fixtures and remove any debris. If ceiling paint is yellowed or water-stained, a quick coat of primer and white paint transforms the photo.
Ensure all light fixtures work and bulbs are bright. Even in daytime, overhead lighting balances shadows and fills dark corners. A photographer may bring additional lights, but working fixtures speed up the shoot.
The hallways and transitions
Floor plans often capture multiple rooms or a continuous flow. Clear hallways and thresholds of clutter, rugs, or transition pieces. These dead zones should feel open and walkable, not like obstacles.
Schedule the shoot when rooms are truly empty
If furniture or boxes remain on-site, arrange them in a corner far from the shot, or schedule photography after move-out is complete. Partial emptiness reads as messy; full emptiness reads as clean.
Floor plan photography serves a practical function: it proves dimensions, layout, and flow. Buyers rely on it to picture themselves in the space. A well-prepared empty room keeps the focus on what matters: the bones of the property.
Ready to schedule floor plan photography? See current pricing and turnaround or reach out for a residential project quote.