From CAD to photoreal: how a 3D rendering gets made
A photoreal 3D rendering isn't magic. It's a defined production process. Here's exactly how raw CAD files become images that sell unbuilt real estate.
A photoreal rendering that closes a presale doesn't start with an artist's intuition. It starts with geometry, and every decision after that is deliberate.
If you're a developer, architect, or builder using renderings to market or permit unbuilt property, understanding the production process helps you deliver better source files, set realistic timelines, and push back when output doesn't meet the brief.
Step 1: The source files come in and get audited
The process starts with whatever you hand over. That's usually a set of architectural CAD drawings, a Revit model, a SketchUp file, or some combination of all three. Sometimes it's PDF plans with hand-marked notes.
The first thing a rendering team does is audit what they received. Gaps in the model, missing dimensions, conflicting elevations, and undefined material specs all get flagged before any 3D work begins. Catching these early costs you an email. Catching them mid-render costs you a week.
If your plans are complete and your material selections are documented, this stage is fast. If they're not, expect a revision cycle here before anything visual gets built.
Step 2: The 3D model gets built or refined
If the source file is a detailed Revit model, the rendering team may work directly from it. More often, the CAD drawings become the blueprint for building a clean geometry model from scratch inside software like 3ds Max or Cinema 4D.
This is the structural phase. Every wall, window, overhang, and roofline gets modeled to spec. Exterior renderings require accurate massing and site context. Interior renderings require precise room dimensions and ceiling heights.
Skipping accuracy here is how renderings end up looking "off" in ways clients can feel but can't name. The window proportions are wrong. The ceiling reads too low. The stair pitch doesn't match reality. Those errors trace back to a geometry model that wasn't built to the drawings.
Step 3: Materials, lighting, and camera angles get set
This is where the rendering starts to look like something. Three things happen in parallel:
- Materials: Every surface gets a texture assigned. Brick, glass, concrete, wood, tile. These are either sourced from material libraries or built custom to match a specified product (a particular tile manufacturer's finish, a cladding color from a specific paint line).
- Lighting: The team sets a time of day, a sun angle, and an sky environment. Exterior renders are usually shot in the golden hour. Interior renders balance natural light through windows with artificial light sources placed at fixture locations.
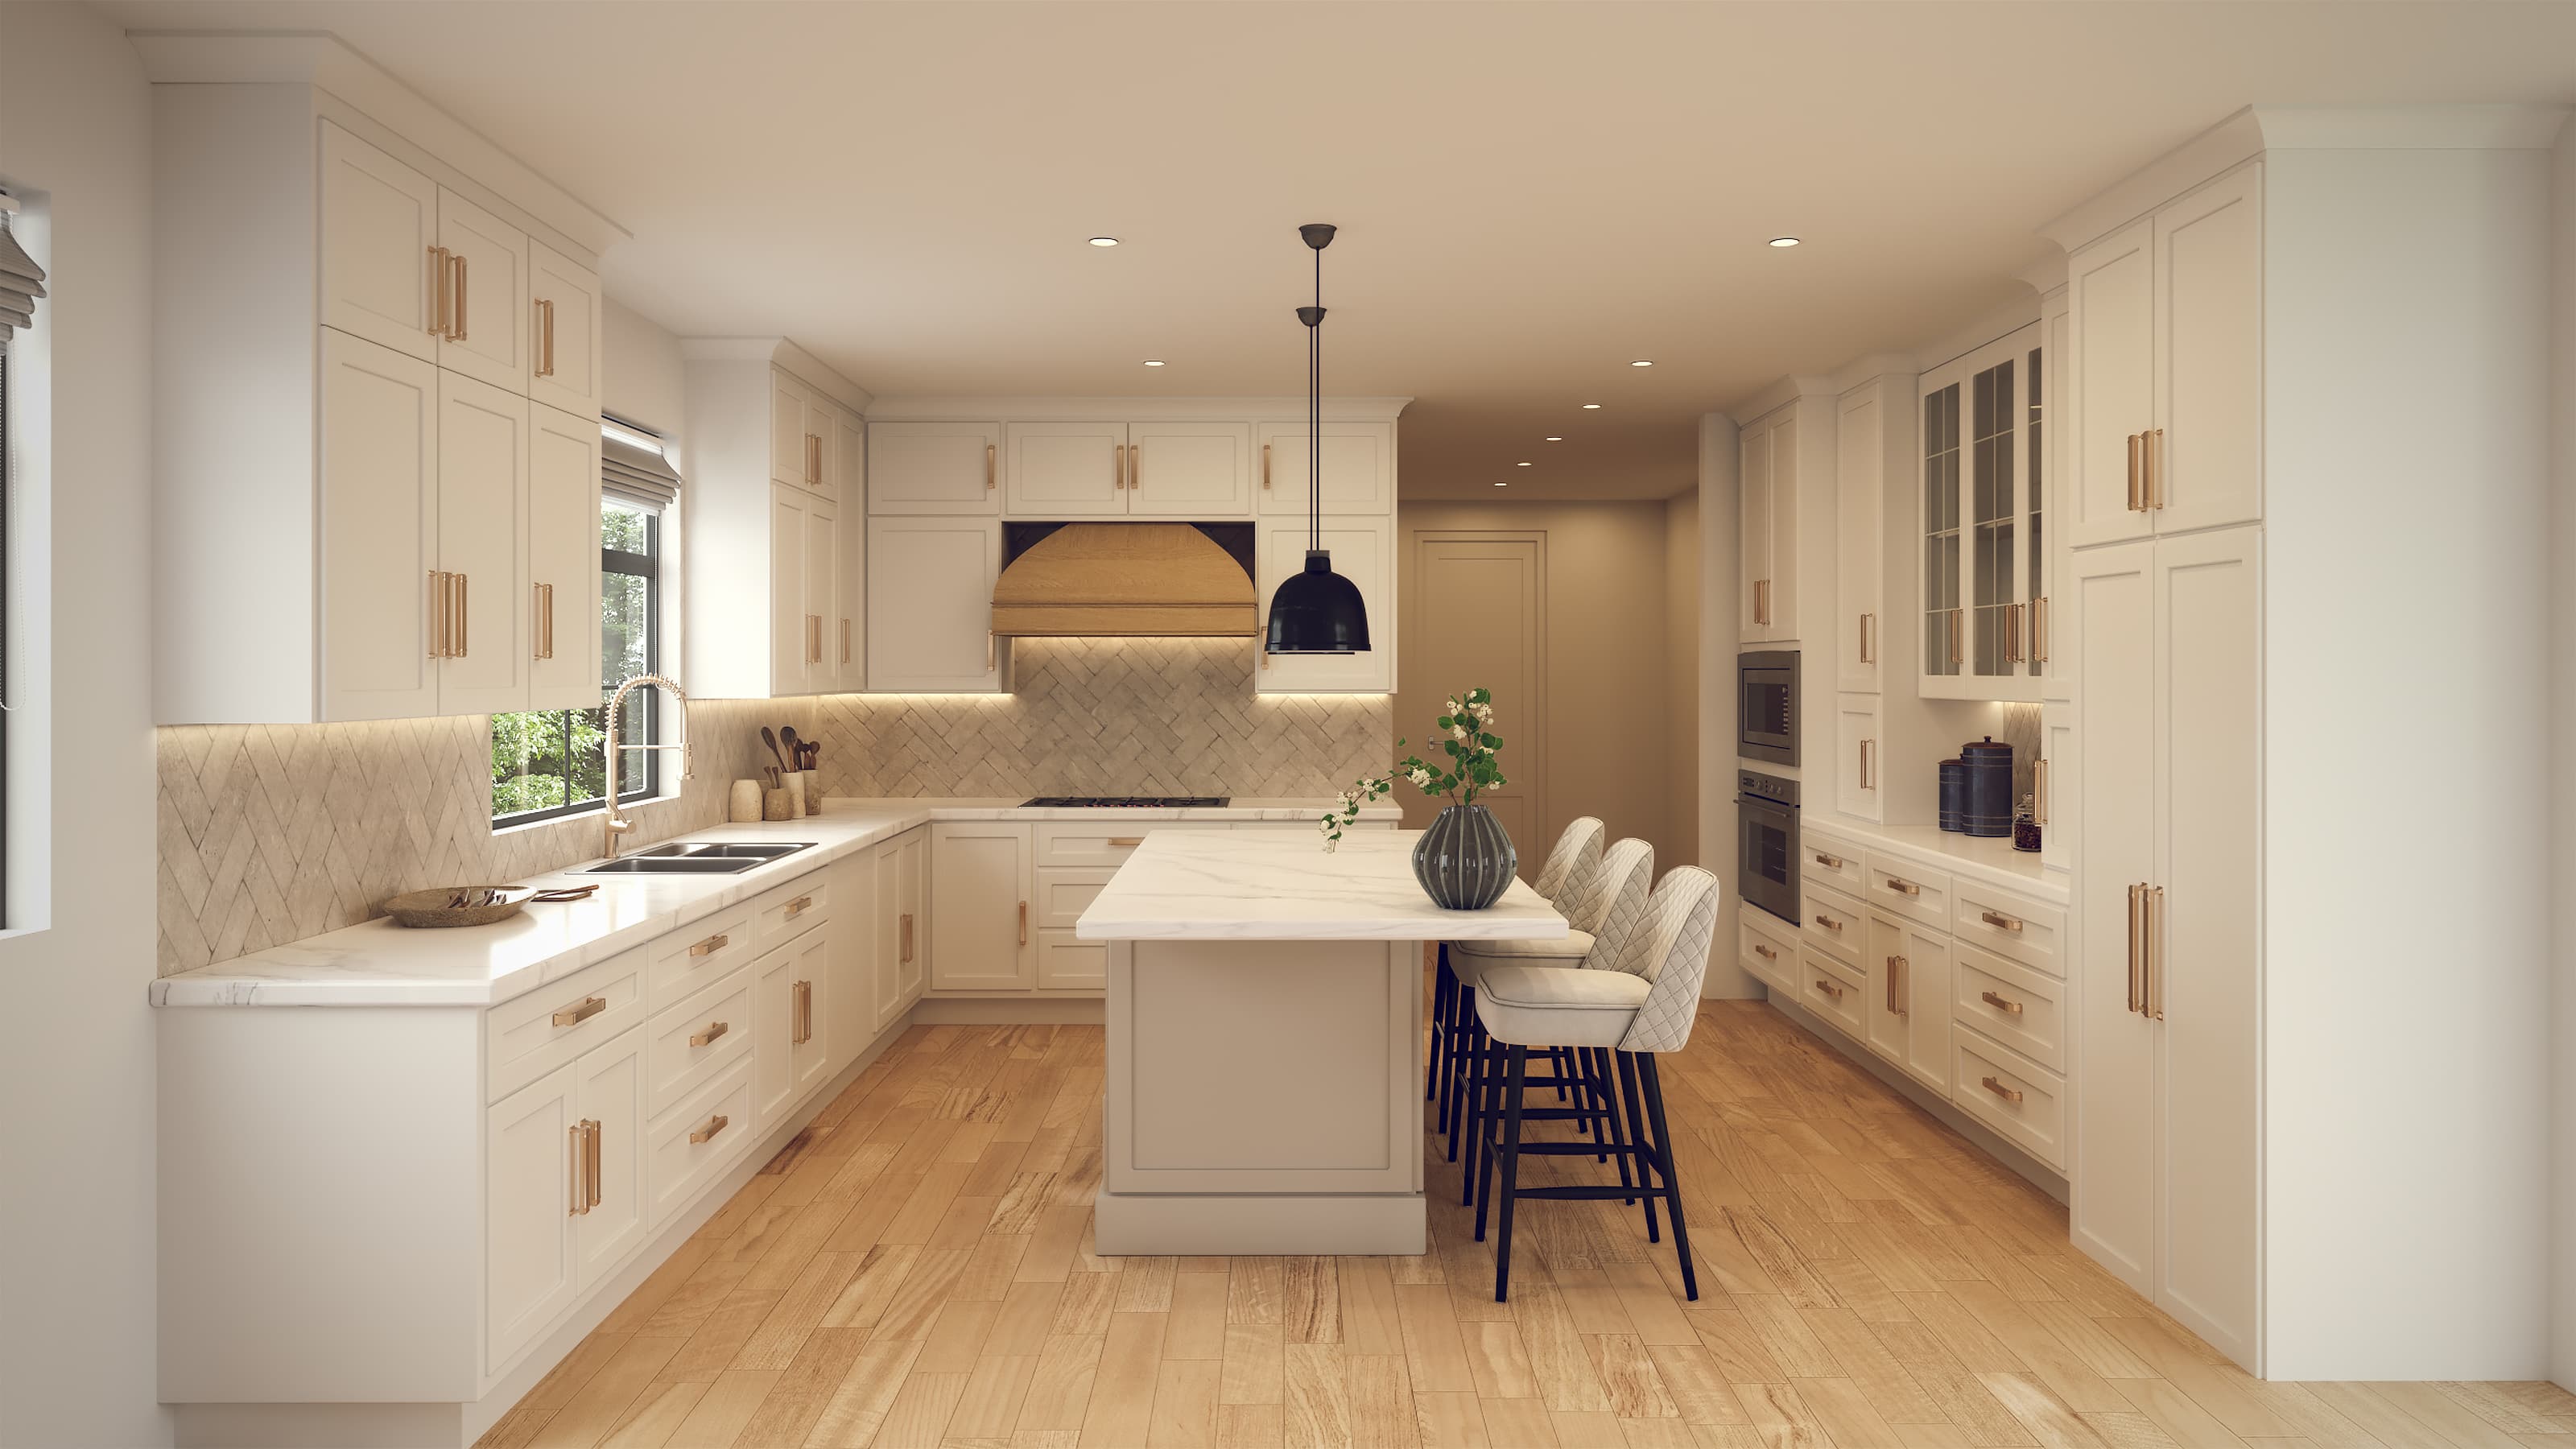
- Camera placement: Angles are selected to match the marketing goal. A street-level hero shot. A bird's-eye site view. A kitchen vignette for a sales brochure. Each angle is a separate render output.
This is also where your input matters most. If you have reference images showing the mood, the light quality, or the material feel you're after, share them here. Vague feedback at the end of a project is expensive. A clear reference image at the start is free.
Step 4: Rendering and post-production
Once the scene is built and approved, it goes to render. The software calculates how light bounces across every surface in the scene, thousands of times per pixel. A single high-resolution exterior frame can take several hours of processing time depending on scene complexity.
Raw render output is never the final product. Post-production in Photoshop adds sky replacements, entourage (people, cars, landscaping), color grading, and any final compositing. This is where a technically accurate image becomes a persuasive one.
The difference between a render that looks like a computer model and one that reads as a photograph usually comes down to the quality of this post-production pass.
What makes a rendering actually useful for sales or permits
Not all renderings serve the same purpose. Before the project kicks off, be clear about where the images are going:
- Presale marketing: Needs aspirational lighting, lifestyle entourage, and print-ready resolution.
- Permit submissions: Often requires accurate site context, correct setbacks visible, and minimal stylization.
- Investor decks: Benefits from an aerial or bird's-eye view that shows the full footprint and relationship to surrounding properties.
- Social media: Needs to be cropped for vertical formats and punchy enough to stop a scroll.
The geometry and materials can be reused across all of these. The camera, lighting, and post-production approach changes by use case. If you're paying for a rendering package, make sure the output is specified for every channel you need it to cover.
Flylisted has produced photoreal 3D renderings across more than 6,953 projects for developers, architects, and builders from New England to South Florida to California. The work runs from single-unit residential renderings to full mixed-use development packages.
See rendering services and request a quote at Flylisted's 3D renderings page.