
Interior photography for vacation rentals: seasonal staging guide
How to stage and photograph vacation rentals across seasons. Timing, décor swaps, and lighting tactics that keep listings fresh and bookings steady.
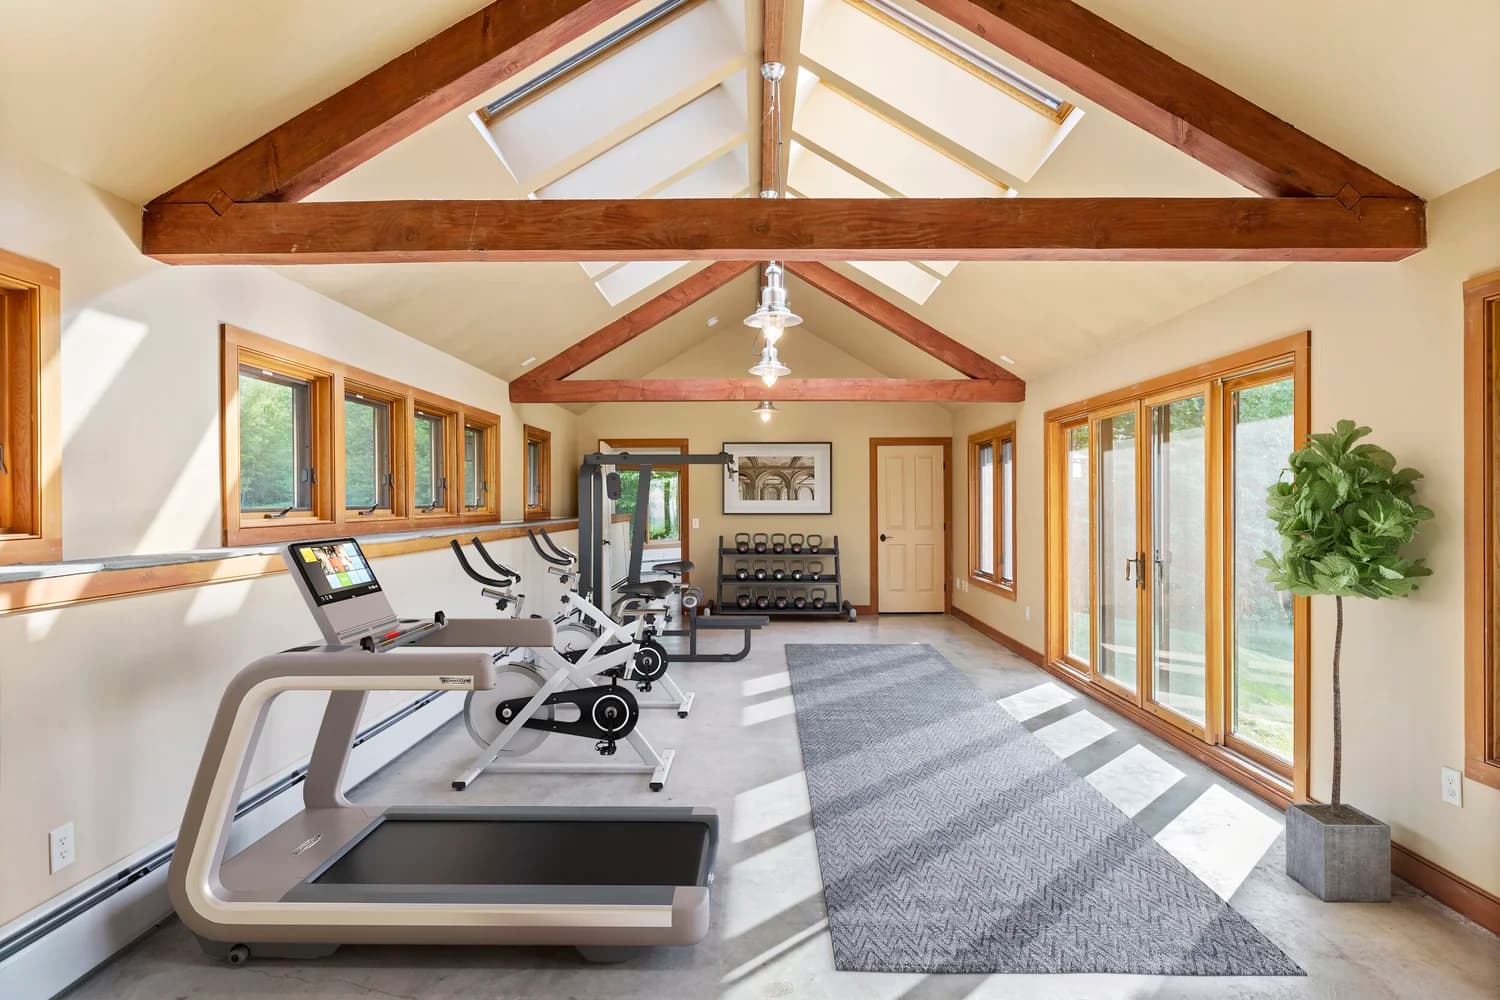
Vacation rental photographers and operators face a moving target. Winter light differs sharply from summer. Guest expectations shift. A beachfront unit that looks inviting in July can feel sparse in January if you don't adjust.
The operators who keep bookings stable year-round use seasonal staging as a tool, not as decoration theater. Timing your interior shoots and adjusting what's on frame matters more than you'd expect.
Shoot ahead of the season
The mistake: waiting until November to photograph a winter-season property.
Book interior shoots 4 to 6 weeks before peak season starts. For a winter property, that means late September or early October. For summer rentals, aim for late March or April. This gives you time to style, capture, and refresh your listing before inquiries spike.
You can reshoot the same unit twice a year (spring/summer and fall/winter) or focus on the seasons that drive your highest bookings. The 24-hour turnaround on residential photo packages means you can schedule a full interior shoot and have edited images the next day.
Seasonal décor swaps that read on camera
Subtle looks better than dramatic. Guests book based on the space itself, not on whether you've hung tinsel or autumn garland.
Focus on these elements that photograph distinctly across seasons:
- Bedding and throw pillows (whites and light blues for summer; deeper grays, charcoal, or warm jewel tones for fall and winter)
- Kitchen linens and bar towels (swap one or two; don't overdo it)
- Outdoor furniture visible through windows (cushions out in summer; cushions stored or weathered frames visible in winter)
- Live plants near windows (thriving greenery in spring and summer; sparse or no plants in winter is honest)
- Fireplace staging (styled with a simple display in summer; active or staged with wood and tools for fall/winter)
- Ambient lighting fixtures (more lamps on in fall/winter shots; rely on natural light for summer)
Avoid Christmas-specific décor unless your target market is holiday-only rentals. Thanksgiving touches (warm wood tones, ambient lighting) hold better year-round appeal.
Lighting strategy for season
Summer interiors benefit from bright, direct natural light. Shoot mid-morning or late afternoon to avoid harsh shadows. Minimalist staging works because light does the heavy lifting.
Winter light is low-angle and warm but weak. Lean on interior lighting. Turn on all ambient lamps 30 minutes before the shoot. Overhead fixtures should be on. This isn't about making the space look artificially lit. It's about filling shadow zones that read as cold or uninviting on camera.
Spring and fall sit in the middle. Balance natural and interior light. Test at 10 AM and 2 PM to see which suits the unit best, then lock that window for future seasonal shoots.
Furniture arrangement and negative space
Don't rearrange furniture between seasons. Guests want to know how the space actually functions. What changes is what's on the furniture and surfaces.
Negative space (empty counter, clear coffee table, open shelving) photographs better in summer. Winter interiors can hold more on tables and counters (coffee-table books, a throw blanket folded on a chair, a candle or two) and still feel curated, not cluttered.
Keep walking paths clear regardless of season. That's a safety issue and a photography issue.
Staging for the guest experience, not the listing
Ask yourself: what does a guest actually need and want when arriving in this season?
Winter guests often appreciate extra blankets visible on beds, a stocked kitchen pantry, and warm lighting. Summer guests want beach towels, sunscreen visible, and a sense of openness. Spring and fall guests are in transition, neutral staging works.
This is where seasonal staging stops being a gimmick and starts being a hospitality signal. Photographs capture it. Guests feel it on arrival.
Simple checklist for seasonal shoots
- Schedule 4 to 6 weeks before peak season
- Swap 3 to 5 key textile elements (bedding, throws, kitchen linens)
- Adjust interior lighting based on natural light availability that season
- Clean and declutter thoroughly (this matters more than any décor swap)
- Take 2 to 3 comparison shots of key rooms if this is a new property, so you have a baseline
- Plan to refresh listing photos every 12 months minimum
Properties that photograph consistently across seasons hold their booking pace year-round. That consistency comes from intentional timing and staging choices, not from effort alone.
Ready to lock in your seasonal shoot schedule? Check current turnaround and availability at our residential photography pricing.